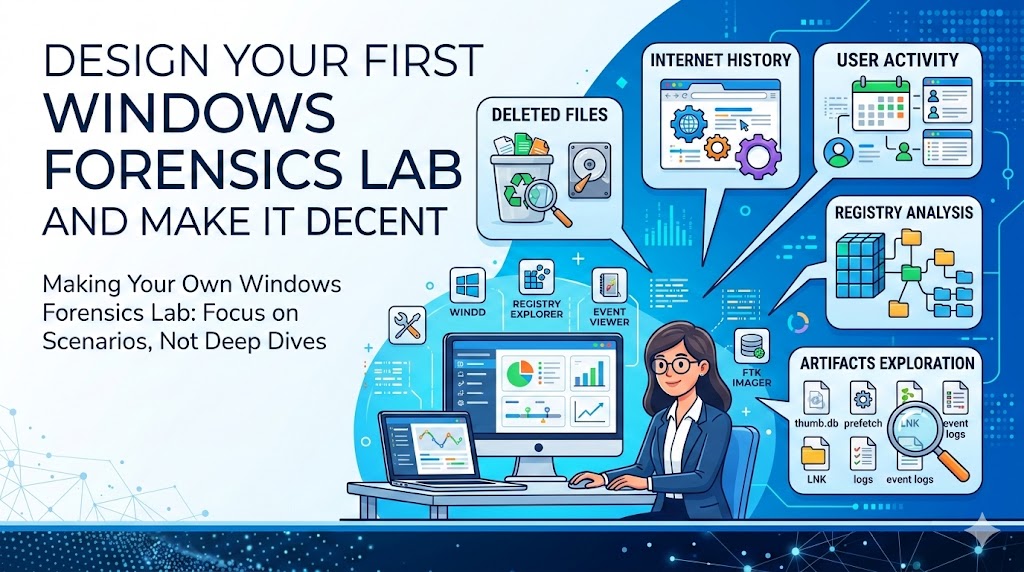
Design your first Windows Forensics Lab and make it decent!
Hello everyone, Chicken0248 here. As the subject of this blog suggests, I'll be briefly talking about how you can design your own Windows Forensics lab. I expect some of you to do more research about each Windows artifact I mention here, or if you already know them, it will be fairly easy to get started!
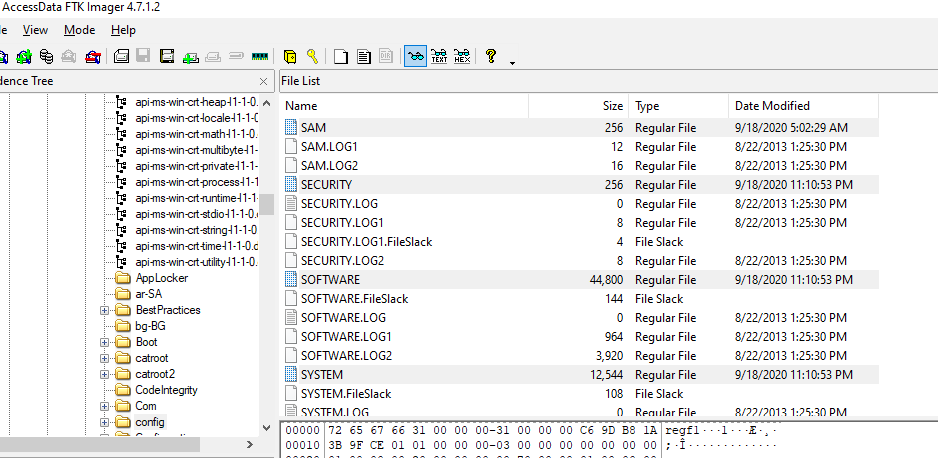
Let's talk about Windows Forensics first. Windows Forensics is a process, and sometimes an art, of analyzing individual Windows components, or Windows artifacts, to understand what actually happened on a specific machine during a given time span of interest.
As you might already know, the Windows operating system performs a lot of actions behind the scenes, whether for optimization or other internal purposes. Almost every action on a Windows system leaves traces behind (unless someone intentionally clears them). By examining these artifacts, we can extract valuable information that allows us to reconstruct what happened on a particular endpoint within a specific timeframe.
There are a lot of Windows artifacts that can be useful. Most people initially think that Windows Event Logs alone are enough to understand what happened during a specific period of time. Well, I hate to break it to you, but most of the time, they are not. Not every organization has Sysmon installed, and many environments run with default Windows configurations without any additional audit logging policies at all.
This is where Windows forensics really shines. By correlating multiple legitimate Windows components, what we commonly refer to as Windows artifacts, we can still determine what actions were actually performed on the system. Some of these artifacts are even reliable enough to be used in court.
The purpose of this blog is to help you understand how to build a "decent" Windows forensics lab: what factors you should consider, what pitfalls to avoid, and which approaches work better in different scenarios, along with their advantages and disadvantages.
Let's start with the basics, why create a Windows forensics lab? There are several reasons to consider, and below are the main ones.
Whether you are approaching this from a red teaming perspective, simulating attacker behavior or APT-style TTPs, or from a blue teaming perspective focused on detection and investigation, hands-on activities provide the best learning experience for both sides.
A Windows forensics lab allows you to provide students with realistic artifacts to analyze, whether as part of assignments, practical exercises, or exams, helping them connect theory with real-world investigations.
This is a more specialized case, as not every organization requires a Windows forensics lab. Most environments that do need one are typically cybersecurity education platforms, such as TryHackMe, Hack The Box, Blue Team Labs Online, CyberDefenders, and similar services, where realistic forensic scenarios are essential for effective learning.
Now, let's explore the endless possibilities of what a Windows Forensics lab can look like.
There are multiple flavors of Windows forensics labs, and below are some of the most common ones.
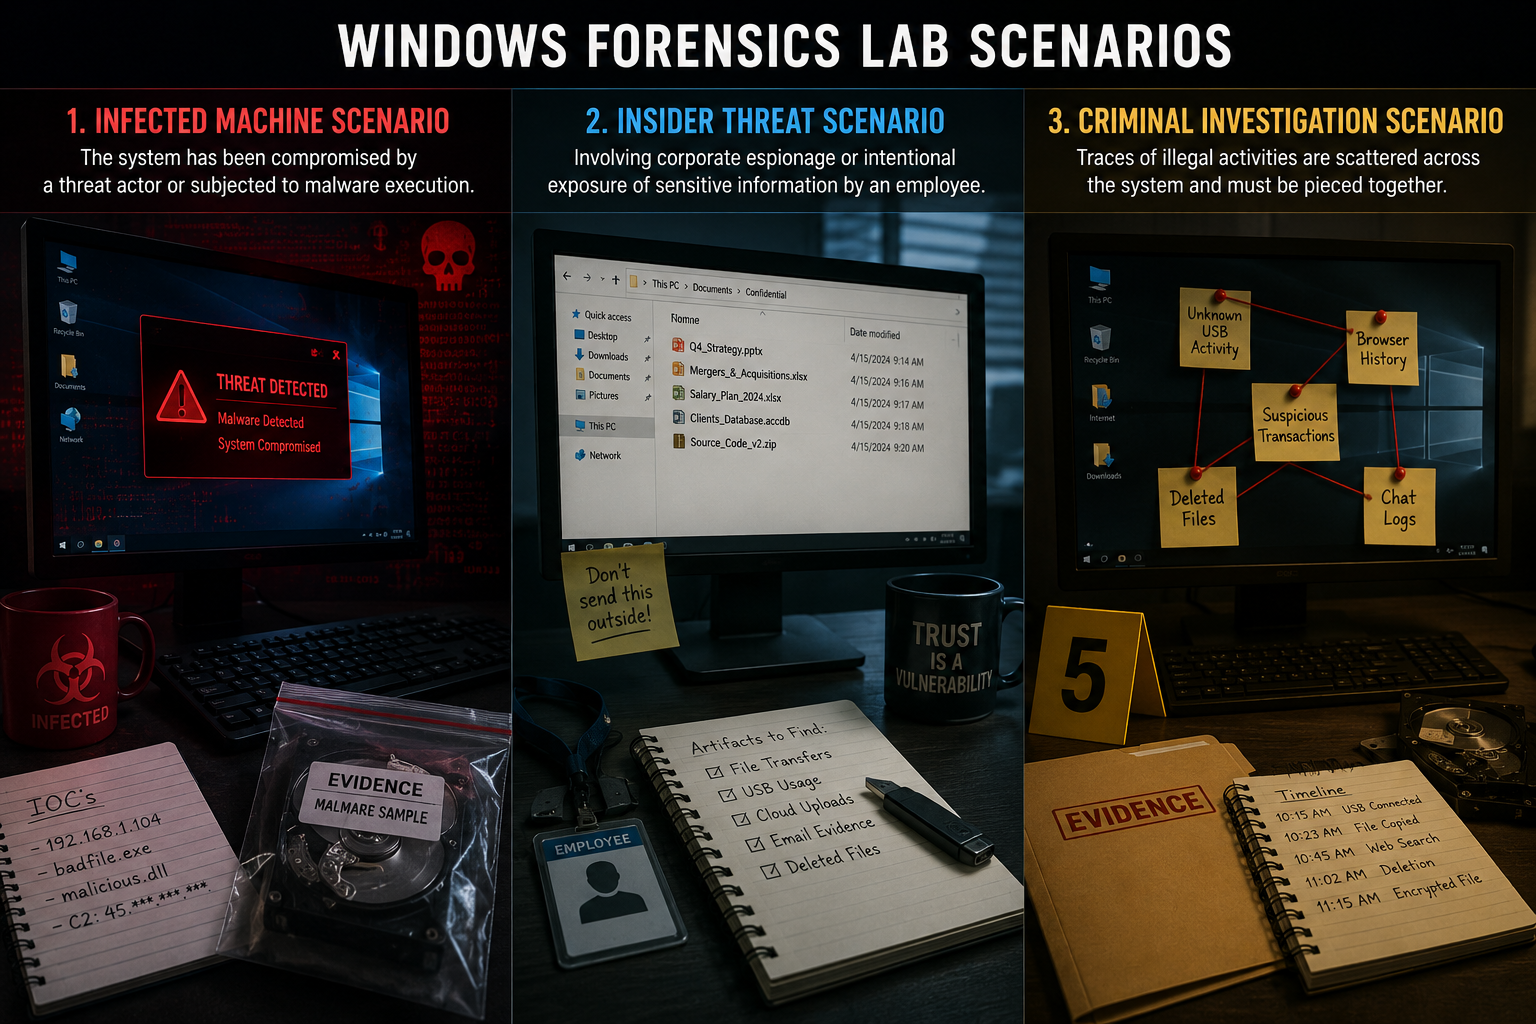
- An infected machine scenario, where the system has been compromised by a threat actor or subjected to malware execution.
- An insider threat scenario, involving corporate espionage or intentional exposure of sensitive information by an employee.
- A criminal investigation scenario, where traces of illegal activities are scattered across the system and must be pieced together.
Sometimes, you may not want to focus on a detailed scenario at all, simply providing a set of artifacts and asking participants to extract a flag, similar to a forensics-style CTF. However, in my opinion, having a clear scenario adds important context to the investigation.
The scenario you choose directly shapes which artifacts matter. An infected machine case focuses on malware execution traces. An insider threat case is heavily centered around user behavior, identity, and timelines. Different scenarios require different investigative approaches, so define your flavor early.
Case 1: A Compromised Machine (Malware / Threat Actor Activity)
This case can be further divided into two sub-cases. The first involves malware that operates autonomously without direct keyboard interaction from a threat actor. The second involves malware that connects back to a C2 server, allowing the threat actor to perform hands-on activities on the compromised system.
The first sub-case is the most classic scenario, a family member, friend, or employee unknowingly downloads malware through phishing emails, malvertising, or cracked software. This scenario leans more toward malware analysis than a full forensic investigation.
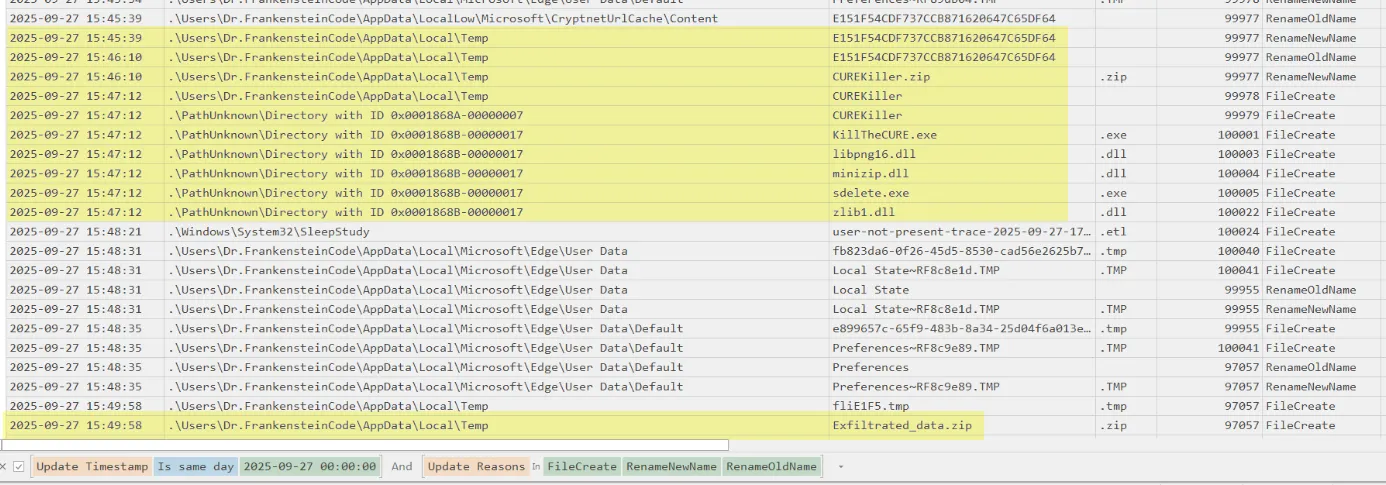
The second sub-case is where things get serious. The threat actor actively interacts with the system after establishing a C2 connection, executing commands to gather system info, deploy additional tools, establish persistence, or loot sensitive data such as browser-stored credentials, cryptocurrency wallets, or deploying keyloggers and ransomware.
To create a realistic lab scenario, study threat intelligence reports from various vendors to understand current attacker trends, techniques, and behaviors. By doing so, you can craft a believable attack chain and select payloads that reflect real-world adversary activity.
Investigating this type of activity requires extensive knowledge of common Windows artifacts such as Prefetch, Amcache, the file system, registry hives, and many others. By correlating these artifacts, an investigator can reconstruct a detailed timeline of events.
Case 2: Insider Threat, Corporate Espionage
This case involves an employee who becomes an insider threat, either knowingly or unknowingly. The investigation heavily relies on user behavior analysis, using artifacts that help determine what activities were performed during the time span of interest.
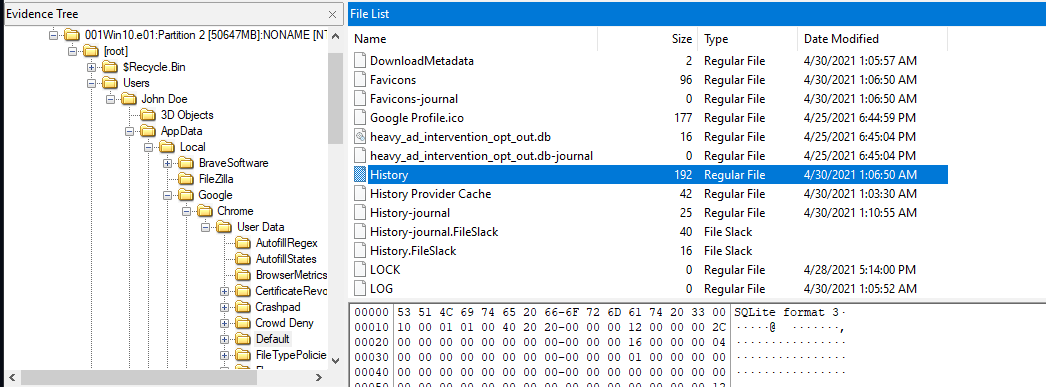
Typical artifacts include web browsing history, suspicious usage of instant messaging applications, archive utilities, and USB devices. For example, an employee may copy a large number of files from a corporate file-sharing server, compress the data with an archival program, then either upload it to cloud storage or copy it to a USB flash drive.
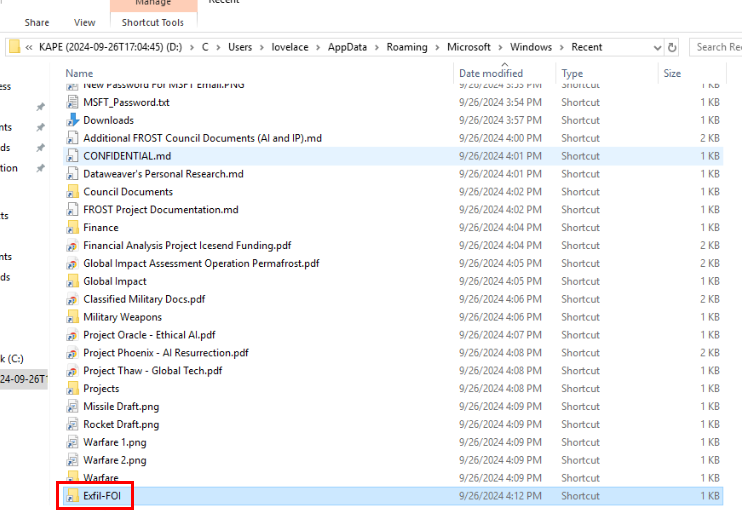
Investigating such activity requires extensive knowledge of registry forensics, correlated with other user-centric artifacts such as JumpLists, ShellBags, file system metadata, and browser history. By correlating these artifacts, an investigator can reconstruct a complete timeline of events.
Case 3: Suspected System Used to Conduct Malicious Activities
This case is closely related to Case 2, but it is one of the most common scenarios encountered by law enforcement and police investigators. A suspect is believed to have conducted illegal activities using a personal computer, and the investigator's role is to substantiate those alleged actions through digital evidence.
In real-world investigations, law enforcement typically relies on enterprise-grade, court-approved forensic software to automate evidence acquisition, artifact parsing, and initial analysis. Manual analysis is then performed to validate findings and build a defensible case.

For training and lab purposes, this scenario can be simulated without enterprise forensic tools. While not representative of real law enforcement workflows, it is highly valuable for learning how artifacts are generated, stored, and correlated at a low level. Open-source tools, such as Eric Zimmerman's tools, can be used to parse and analyze individual artifacts manually.
This case also allows more room for creativity: introduce privacy-focused applications, or include communication platforms such as Discord, WhatsApp, Zoom, or Telegram, and study how these applications store metadata, usage traces, and, in some cases, local chat artifacts on the system.
When it comes to evidence acquisition, there are two main approaches you can take.
Approach 1: Full Disk (and Memory) Imaging
The first approach is to capture the entire disk image, and optionally a memory image as well. This requires a large amount of storage, if the disk size is 40 GB, the resulting image will also be roughly 40 GB (unless compressed with a tool like FTK Imager).
- You retain everything on the system
- Most realistic, closely resembles real-world investigations
- You can always go back and analyze artifacts you didn't initially consider
- Large storage requirements
- For lab design, may be too easy, sometimes you want to intentionally omit certain files to increase difficulty
- Managing and distributing large images can be inconvenient
Approach 2: Artifact Triage (e.g., KAPE)
The second approach is to use triage tools such as KAPE to collect only the artifacts that matter for your case, scenario, or learning objective. You must carefully decide which Windows artifacts are relevant and collect only those. If you later realize something is missing, you can always return to the same system and re-triage, this is where VM snapshots of the compromised state become extremely useful.
- Much smaller disk footprint
- Forces you to truly understand how Windows artifacts correlate with one another
- Excellent training for reconstructing timelines using limited data, just like many real-world cases
- You will miss things if you're not careful
- Once an artifact is gone, it's gone, unless you preserved the original system state
What you really need to learn is how Windows records user and system activity across many different artifacts scattered throughout the OS. In many cases, you'll also need additional knowledge about specific software installed on the system, such as RMM tools or instant messaging applications, because each application leaves traces in its own unique way.
Too complex? That's actually the charm of Windows Forensics, especially in environments without Sysmon or enhanced audit logging policies. You are forced to understand how each artifact contributes to the bigger picture and how to reconstruct incidents without relying on verbose logs.
Remember: you are the lab author. You performed every action yourself. Your job is to ensure that each action leaves behind evidence that can be discovered and correlated by the investigator.
Now let's talk about malware for Case 1. There are multiple ways to increase the difficulty of your lab by blending malware analysis into it.
For example, if you want the player to identify the hash of a malicious file, how could you implement that? Here are a few possibilities:
Provide the malware directly
Hand the malware sample directly to the player as part of the lab artifacts.
Leave the SHA-1 hash in Amcache
Execute the malware so Amcache records its SHA-1 hash, then remove the binary, the hash remains as a forensic artifact.
Let Windows Defender detect it
Allow Defender to detect the malware and store SHA-1 / SHA-256 hashes in MPLog, another reliable artifact source.
Transfer via certutil
Transfer the file using certutil, then triage the cryptneturlcache Content folder, the malware still exists in the collected artifacts even if deleted from disk.
Leave it in the Recycle Bin
Delete the malware file normally so it lands in the Recycle Bin, preserving the file and its metadata for the investigator to find.
Each approach creates a different investigative experience and difficulty level. Mix and match them to craft the right challenge for your audience.
In the end, always ask yourself: "What is the goal of this lab?" The answer to that question will determine everything, from the scenario design, to the artifacts you collect, and even how difficult the investigation becomes.
I hope this helps someone finally take the first step in designing their own Windows Forensics lab, and maybe even give something back to the community one day.
Thanks for reading!